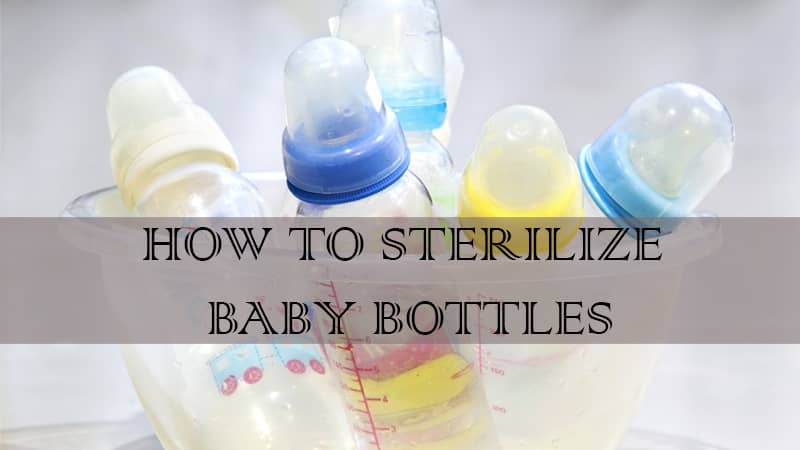
We all know that babies are vulnerable to germs and bacteria. Baby feeding bottles and other feeding equipment have a high chance of bringing germs and bacteria into your baby’s body.
Being parents you need to ensure that your baby’s bottles are clean. For that, you need to sterilize baby bottles so that your baby stays safe from germs. Now you may ask, how to sterilize a baby bottle?
Well, I can help you with that. In this article, I’ve brought the 7 easy and safe methods to sterilize a baby bottle. So, let’s jump into the main section. Shall we?
How to Sterilize Baby Bottles?
If you think sterilizing a baby bottle is a tough task, you’re wrong. Here are the 7 methods that help you to sterilize bottles effortlessly. These methods can be used at home or while traveling with your baby.
Method 1: Sterilize Baby Bottle with Using Boiling Water
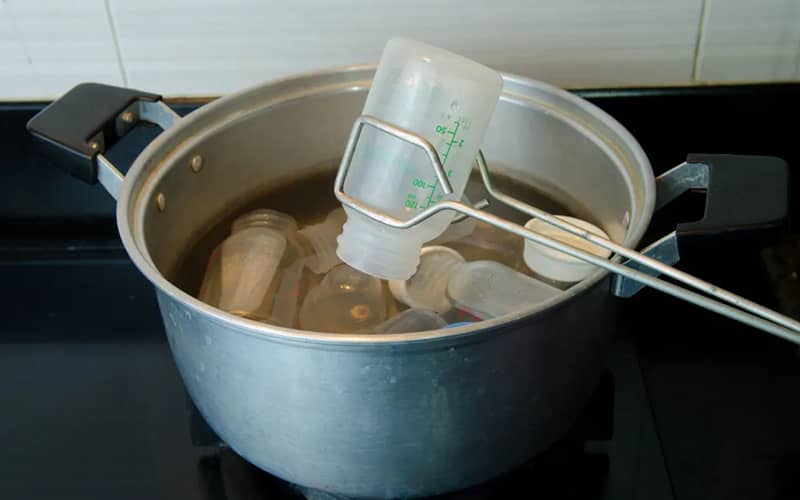
This is a simple method to sterilize a baby bottle. You don’t need any equipment or extra effort to sterilize the baby bottle with boiling water. Here’s how to do it:
| Step No. | Instructions |
| Step 1 | Take a large, clean saucepan or pot and fill it with water so that you can cover the bottles |
| Step 2 | Now bring the bottles and submerge them in the water upside down. Also, ensure that there aren’t any air bubbles trapped at the bottom. |
| Step 3 | Now place the pot on the stove and boil the water for 5 to 10 minutes (or according to manufacturer guideline) |
| Step 4 | After 5-10 minutes, turn the stove off and remove the bottles and other accessories using a tong |
| Step 5 | Place the bottles and accessories on a clean towel and leave them to air dry. |
Method 2: Using Cold Water and Sterilizing Tablet
If you’re traveling with your baby, this is the simplest way to sterilize bottles. All you need is a sterilizing tablet/liquid, cold water, and a container. However, mix the right amount of water to make the solution effective.
Let me show you the procedure:
| Step No. | Instructions |
| Step 1 | Grab a large, clean container and fill it with enough water so that you can cover the bottles and accessories |
| Step 2 | Now add the sterilizing tablet to the water in the right amount to make the solution effective (or you can follow the manufacturer guideline) |
| Step 3 | Put the bottles and other accessories in the solution and leave them for the recommended time (usually 30 minutes) to sterilize. Make sure there’s no air bubble trapped in the bottles or teats |
| Step 4 | Now remove the bottles from the solution with a tong and leave them to air dry |
Method 3: Sterilize Baby Bottles in Microwave
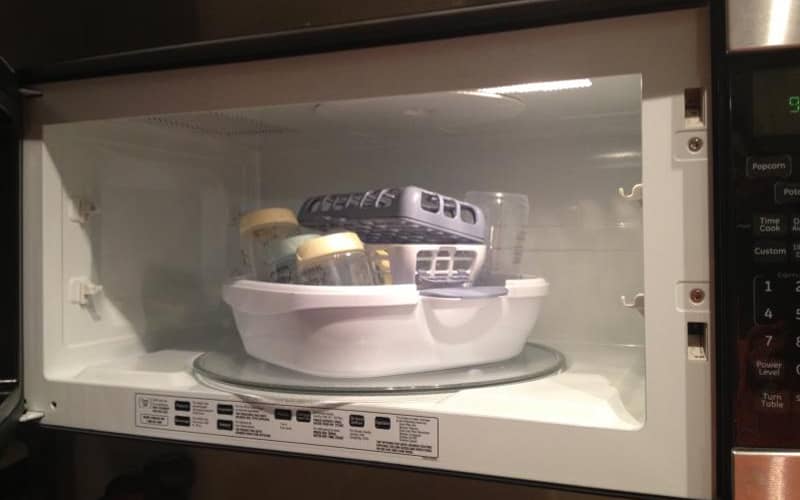
Most of us have a microwave in our home and we can use it to sterilize a baby bottle. However, beware of burn injuries. Always handle the bottles carefully, because they’re supposed to be hot after sterilizing.
Also, before putting the bottles in the microwave make sure they’re safe in the microwave.
| Step No. | Instructions |
| Step 1 | Start off with a clean microwave oven |
| Step 2 | Fill the baby bottles with halfway water |
| Step 3 | Place the bottles in the microwave |
| Step 4 | Now take a bowl and put the nipples and other accessories in it |
| Step 5 | Fill the bowl with enough water to cover the nipples and accessories |
| Step 6 | Put the bowl inside the microwave |
| Step 7 | Run the microwave on high for one and a half minutes |
| Step 8 | After sterilizing, allow the bottles and accessories to cool down and then remove them from the microwave |
How to Sterilize Baby Bottles: Method 4 Steam Sterilization
How to Sterilize Baby Bottles with Sterilizer
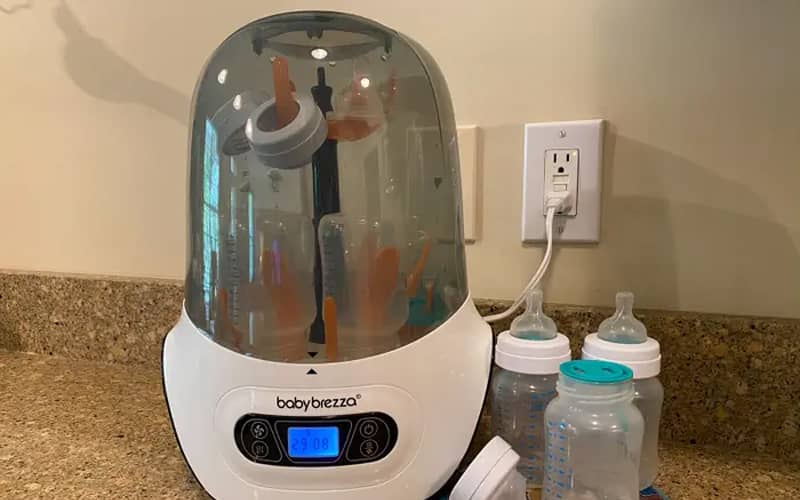
Bottle sterilizers are the best way to sterilize a baby bottle because they’re made for doing this job. Using a sterilizer takes minimum effort and time. Let me show you how to sterilize a bottle using a sterilizer:
| Step No. | Instructions |
| Step 1 | Clean the bottles and other accessories and put them in the sterilizer |
| Step 2 | You should leave enough space between the bottles and accessories. It’ll help to circulate the steam all around the surfaces |
| Step 3 | Add water according to manufacturer’s guideline |
| Step 4 | Turn on the sterilizer and press the start button. If you’re using a microwave sterilizer, place the sterilizer in the microwave and set the timer. |
| Step 5 | Wait for the sterilization cycle to complete and the light to go off |
| Step 6 | Now put the bottles and feeding accessories in a lidded container and put the container in the fridge |
| Step 7 | Sterilize them again if you haven’t used them in 24 hours |
Method 5: Sterilize Baby Bottles with Bleach
You can use bleach if you don’t have access to a stove, microwave, or sterilizer. The CDC has also allowed bleach to clean baby bottles, so don’t worry about it. Here’s the process:
| Step No. | Instructions |
| Step 1 | Grab a large, clean container and fill it with 16 cups (1 gallon) of water |
| Step 2 | Add 2 tbsp of unscented bleach to the water and mix well |
| Step 3 | Submerge the bottles and accessories in the solution and make sure there’s no air bubble trapped under the bottles |
| Step 4 | Let the bottles soak for 2 to 5 minutes and then remove them with a tong |
| Step 5 | Now leave the bottles and accessories on a clean, dry towel to air dry. Also, you don’t need to rinse off the bottles |
Method 6: Using UV Sterilizer
The UV sterilizers are able to kill 99.9% of germs with the power of UV rays. You don’t need water or anything to sterilize the bottles and other equipment. Highly convenient, right?
Here’s how to use a UV sterilizer:
| Step No. | Instructions |
| Step 1 | Place the bottles and other feeding equipment in the UV sterilizer |
| Step 2 | Turn on and press the start button (there might be several options available, press the button according to your choice) |
| Step 3 | Wait until the cycle is complete and after that remove the bottles and accessories |
Method 7: Sterilize Baby Bottles in Dishwasher
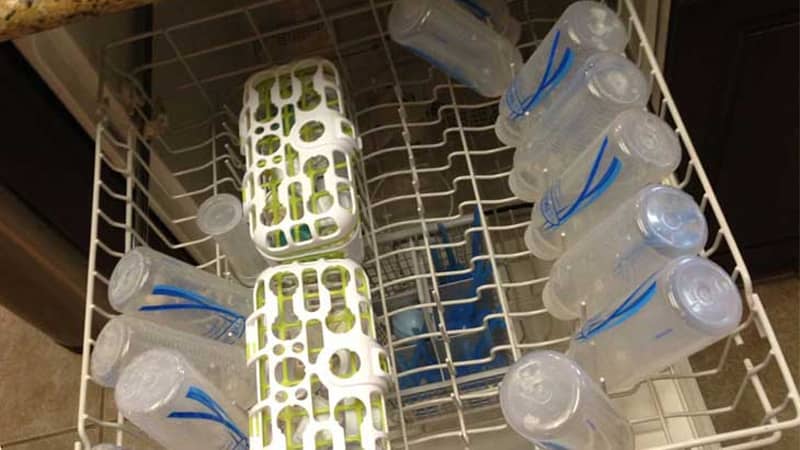
Most of the bottles are top-rack dishwasher safe. Dishwashers come with sanitizing or sterilizing options which can help you to sterilize the bottles. Here’s how to do it:
| Step No. | Instructions |
| Step 1 | Put the bottles on the top rack of your dishwasher |
| Step 2 | Place the nipples, rings, and other accessories in the dishwasher basket |
| Step 3 | Run a cycle on sterilizing or sanitizing mode (depends on models) |
| Step 4 | Let the bottles cool down and then remove them from the dishwasher. Always handle the bottles carefully to avoid burn injuries |
How to Sterilize Baby Bottles: FAQs
Do I Need to Dry Bottles After Sterilizing?
The best practice is not to dry the bottles after sterilizing. The water that remains inside the bottle after sterilization is sterile and can’t collect germs. Also, wiping out the bottle with clothes can also add germs. So, it’s best not to dry the bottles after sterilizing.
How Often Should I Sterilize Baby Bottles?
Newborn babies are prone to germs. So, you should sterilize baby bottles once a week until he/she is 1 year old.
How Do You Store Baby Bottles after Sterilizing?
After sterilizing, put the bottles and feeding equipment in a dry, unused, and clean towel and keep them in a dust-free area to air dry.
Do I Really Need to Sterilize My Bottles?
Well, it’s not mandatory to sterilize your bottles. The main benefit of using a microwave or sterilizer is they can reach 100 degrees celsius. It helps to kill the harmful germs and ensure the baby’s safety.
Can You Boil Bottle Nipples to Clean Them?
Yes, you can boil the nipples for 5 minutes to clean them. However, you can use warm, soapy water to clean the nipples.
The Final Thoughts
In this article, I’ve tried to show you how to sterilize baby bottles in 7 easy and convenient ways. Well, the methods are written in a detailed way so that you can follow the steps easily.
I hope this post will help you to sterilize the bottles without any hitch and save the baby from germs. Lastly, don’t forget to read the manufacturer’s guidelines before attempting sterilization. Also, if you use boiling water or microwave, wait until the bottles cool down otherwise you can face a burn injury.
Table of Contents

