If your baby loves to drink warm milk or food then the bottle warmer is an essential device for your daily life. Being a careful or busy mom, you must keep the bottle warmer clean to ensure hygiene for your baby.
Now you may ask how to clean a bottle warmer? Well, the procedure is simple and you should clean the bottle warmer after every use. First, unplug the bottle, let it cool down. Remove the water from the reservoir and rub the inner and outer parts with a damp cloth. You can use dishwashing liquid to soak the cloth.
I think you’ve got the answer. But actually, it’s just the tip of the iceberg. There are a lot more things left to share and you don’t need to worry much. I’m going to describe all your queries in the following sections. Let’s get it started, shall we?
How to Clean a Bottle Warmer?
The regular cleaning process of a bottle warmer is almost a piece of cake. However, the descaling or deep cleaning requires a little bit more time and effort. In the next section, I’d like to show you the cleaning procedure. Before we start, you need the following things to clean the bottle warmer properly-
Required Things for Regular Cleaning
- Dishwashing liquid
- Soft cloth or sponge
- Warm and cold water
- 1 tbsp uncooked rice (only for Dr. Brown’s bottle warmer)
- Towel
Required Things for Descaling or Deep Cleaning
- 50-60 ml vinegar
- 100-120 ml water
- Cold water
- Soft cloth
Precautions
- Always unplug the bottle warmer and let it cool down before cleaning
- Don’t rub the bottle warmer with harsh chemical components like antibacterial agents or abrasives
- Always use a soft and moist cloth to clean the bottle warmer
- Repeat the descaling process 2 or 3 times for the best result
The Cleaning Process of Dr. Brown’s Bottle Warmer
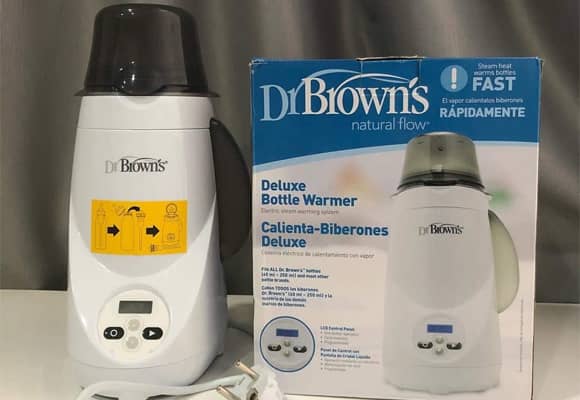
Few people think that cleaning Dr.Brown’s bottle is not a simple task and it’s not completely true. When you try to clean it for the first time, you may find it difficult but eventually it’s not a hard nut to crack.
Dr. Brown’s bottle warmer has 2 removable parts- the warming basket and reservoir. These 2 parts are dishwasher safe if you put them on the top rack. For the other parts, I’d recommend you rinse them with a moist cloth and soapy water.
Regular Cleaning
| Step No. | Instructions |
| Step 1 | Disconnect the warmer from the wall socket and wait for around 30 minutes to let it cool down |
| Step 2 | Now, check the right side of the bottle warmer where you’ll find a transparent water reservoir. Pull it up to detach and if there’s any water, remove it. |
| Step 3 | Fill the reservoir with warm soapy water and keep it aside to soak properly for around 5 minutes or more |
| Step 4 | Take the bottle warmer to the sink and open the cover so that you can remove the water from the heating chamber |
| Step 5 | Now clean the basket with soapy water. Also, you can put it on the top rack of the dishwasher to rinse it off. |
| Step 6 | Take warm water and pour a few drops of dishwasher liquid. Grab a soft cloth or sponge and soak it in warm soapy water. |
| Step 7 | Squeeze the cloth to get rid of excess water and rinse the outside and inside of the bottle warmer gently |
| Step 8 | Let’s get back to the reservoir. Remove the soapy water from the reservoir and put in 1 tbsp uncooked rice and 2 tbsp water. |
| Step 9 | Now place your thumb on the reservoir’s filling point and then shake the bottle for 15-30 seconds. |
| Step 10 | Pour out the uncooked rice water from the reservoir, fill it half with water and shake it again to rinse well. |
| Step 11 | Now put all the removable parts on a towel to air dry and after that reassemble them to use again. You don’t need to dry the reservoir completely because eventually, you’ll fill it with water to use. However, the other parts need to be dried properly |
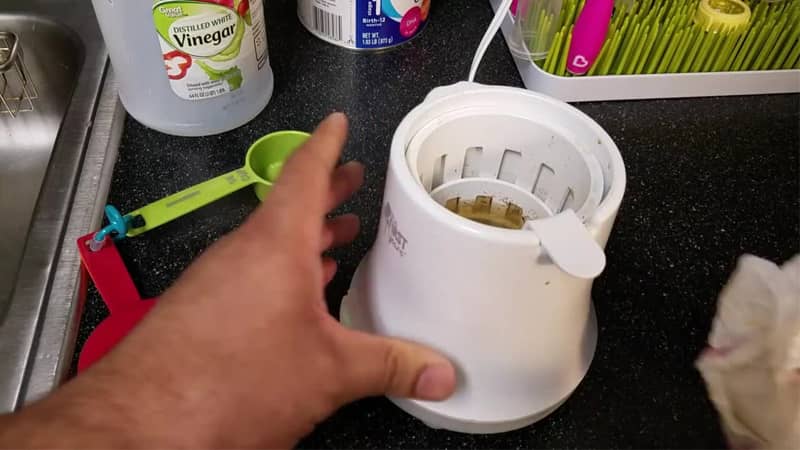
Descaling
The limescale and other minerals start to build up over time if you use the bottle warmer regularly. To get rid of them, you should descale the bottle warmer after every four weeks.
Moreover, if the bottle warmer stops working, descale it. Hopefully, it will work.
| Step No. | Instructions |
| Step 1 | Unplug the bottle warmer from the wall socket and let it cool down |
| Step 2 | Remove water from the water reservoir and heat chamber |
| Step 3 | Pour 50-60 ml vinegar and 100-120 ml water into the reservoir |
| Step 4 | Shake the reservoir to mix the water and vinegar properly |
| Step 5 | Now plug in the warmer and run it on the normal heating cycle. Run the device as long as the reservoir becomes empty |
| Step 6 | Unplug the bottle warmer again and rinse off the reservoir multiple times to ensure the solution is completely gone |
| Step 7 | Now fill the reservoir with water and look for air bubbles. If you see air bubbles coming from the bottom of the reservoir, it means it has been descaled properly. |
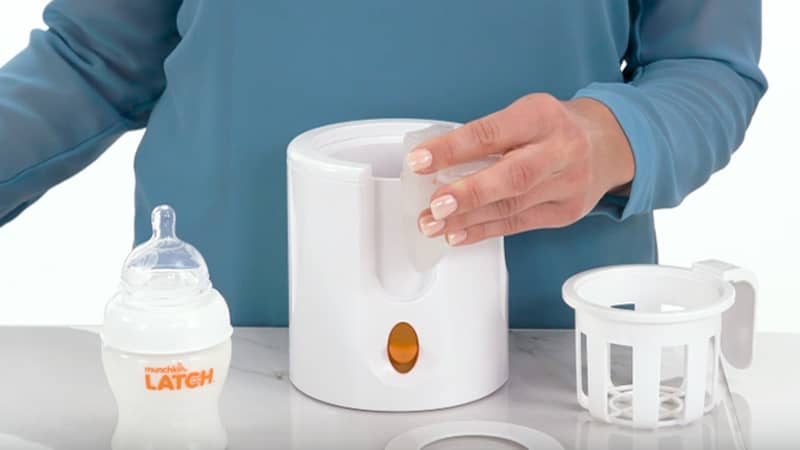
The Cleaning Process of Philips Avent/Munchkin/Tommee Tippee/First Years Bottle Warmer
If you own Philips Avent, Tommee Tippee, or any other brand’s bottle warmer, then this segment is only for you. Because the cleaning process of these brands’ bottle warmer is quite the same and that’s why I’m writing them together. So, let’s see how to clean and descale them.
Regular Cleaning
| Step No. | Instructions |
| Step 1 | Unplug the bottle warmer and wait around 30 minutes to let it cool down |
| Step 2 | Remove the water from the bottle warmer |
| Step 3 | Grab a soft cloth, soak it in soapy water. Then squeeze the cloth to remove the excess water |
| Step 4 | Now rub the inside and outside of the bottle warmer with the moist cloth |
| Step 5 | Pull out the removable parts (if any) and wash them with your hands and soapy water. Moreover, you can put them on the top rack of the dishwasher (if the parts are dishwasher safe) |
| Step 6 | Put all the parts on a towel after cleaning and leave them for an hour to air dry |
| Step 7 | Now reassemble all the parts and run the device |
Descaling
| Step No. | Instructions |
| Step 1 | Unplug the bottle warmer from the wall socket |
| Step 2 | Pour out the water from the bottle warmer |
| Step 3 | Now pour in the water-vinegar solution (50-60 ml vinegar and 100-120 ml water) into the bottle warmer and plug in the device |
| Step 4 | Run a cycle at normal temperature (regular setting, depend on brands) for 5-10 minutes |
| Step 5 | Now leave the device to cool down. Also, it helps to dissolve all the scales |
| Step 6 | Pour out all the solution in the sink and rinse off the interior and exterior with a damp cloth soaked in soapy water (or you can rinse the warmer with tap water |
| Step 7 | Now plug in and run the device at normal temperature again to check if there’s any additional buildup |
Read also
The Final Thoughts
In this article, I’ve tried to show you how to clean a bottle warmer. Here I showed both the regular cleaning and descaling process. I hope you’ll find it easy and helpful. Also, if you still feel confused, follow the manual.
To conclude, I’d suggest you clean the bottle warmer after every use and descale it after every 4 weeks to ensure hygiene for your baby. Always unplug the bottle warmer and let it cool down before you attempt to clean.
Goodbye!
Table of Contents